Recurring leaks are one of the most common homeowner frustrations after renovation handovers. The roof itself is rarely the only root cause; sequencing, flashing, and poor moisture control usually explain why leaks return.
Why leaks repeat after repairs
Most repeated leaks are not from one bad tile or one bad membrane patch. They are usually caused by a combination of these conditions:
- Unidentified cracks at hidden movement joints
- Inconsistent flashing detail between trades
- Poorly sloped edge flashing and parapet transitions
- Missing or blocked drainage channels
- Wind-driven rain pressure in open eaves
If a repair only treats visible symptoms, water will find the next path.
Phase 1: diagnose before patching
A proper diagnosis starts before materials arrive. Ask your contractor to:
- Record photos during a wet weather walkthrough
- Mark water flow direction and weak points
- Confirm previous fixes and repair age
- Perform a controlled hose test by zones
During inspection, document where sealants are cracked, where battens are over-clipped, and where insulation has absorbed moisture. This gives a true origin map and prevents repeated patching.
Common leak hot spots in Cape Town homes
Valleys and hips
Complex intersections often trap moisture if slope and bead lines are wrong.
Parapets and roof edges
These need strong capping and regular seal integrity checks.
Chimney and roof hatch junctions
The smallest gap around services usually becomes the first recurring leak.
Balcony and terrace transitions
Flat-to-pitched transitions are where many leaks start, especially after seasonal expansion.
Corrective strategy that lasts
Step 1: drainage first
Ensure every runoff path is clear and drains are clean. A roof can be waterproof at joints and still fail from blocked channels.
Step 2: membrane and flashing audit
Check compatibility. Using mixed materials without compatible detailing creates micro-seams that reopen.
Step 3: re-open the defect sequence
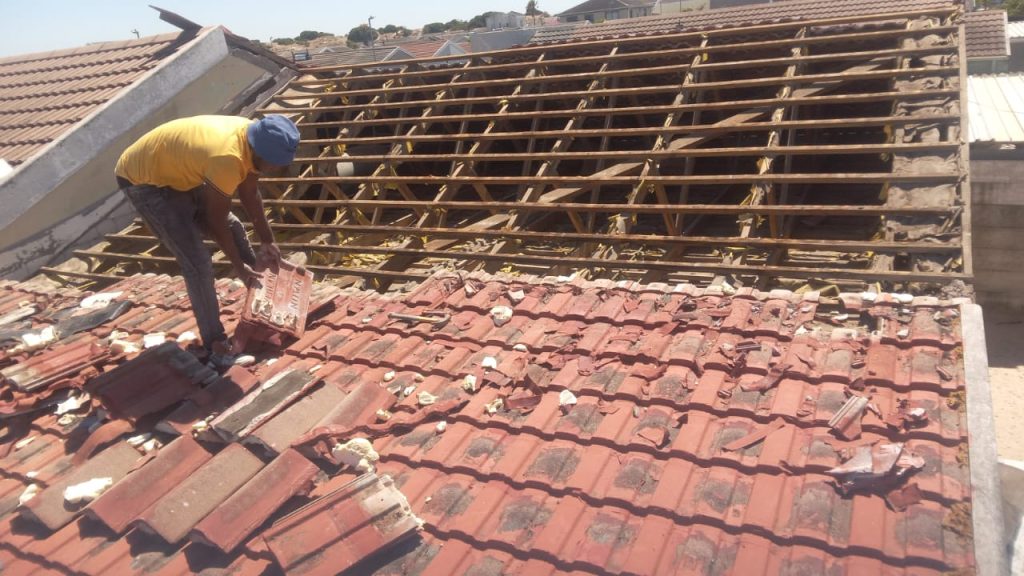
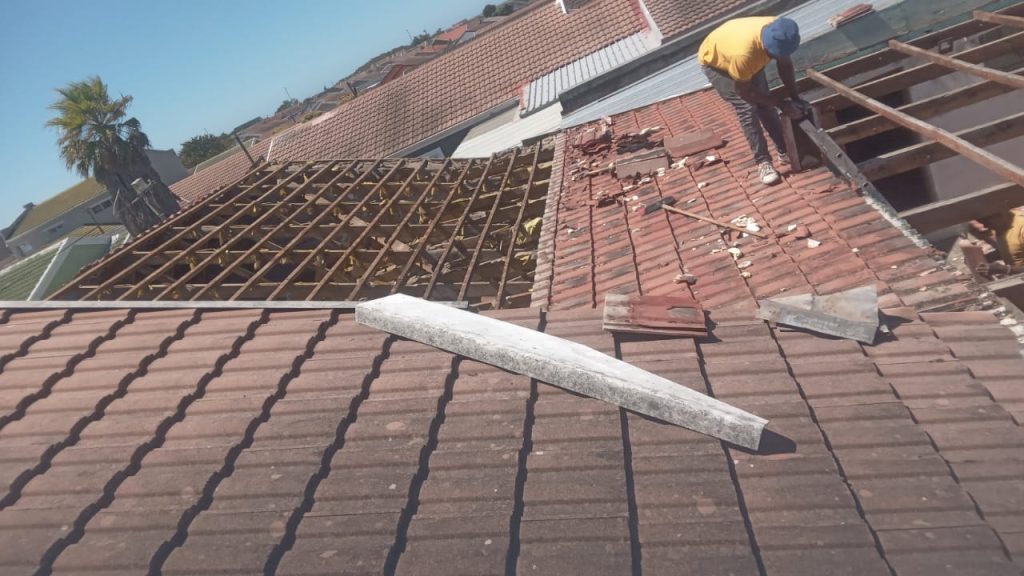
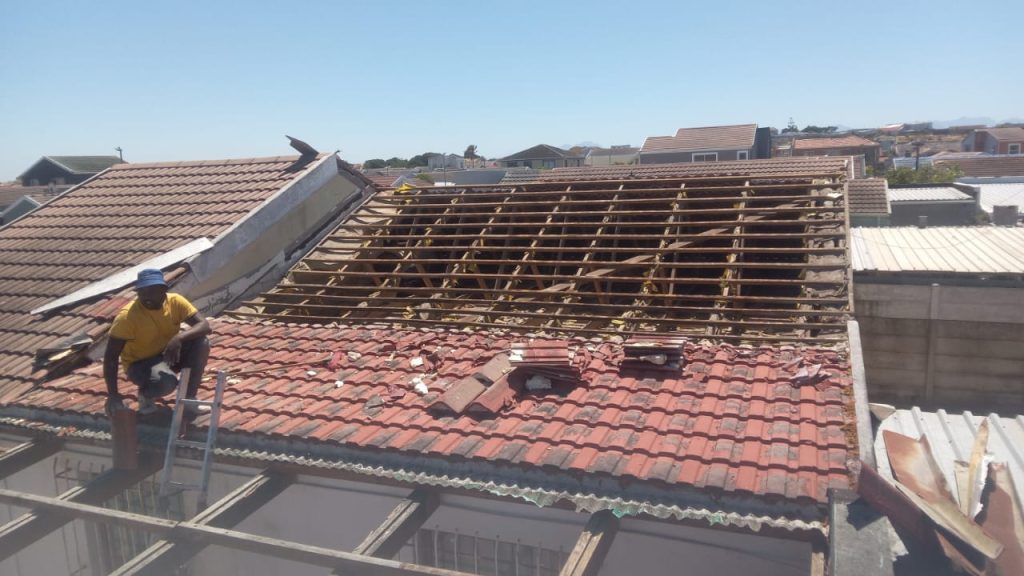
If a roof has repeated leaks, never just replace spot patches. Remove adjacent loose finish and inspect full runs behind the damaged section.
Step 4: test in conditions
Insist on controlled water testing and a delayed weather check before the first payment milestone.
Cape Town-specific risk controls
Wind gusts can pressure moisture into tiny gaps. Plan inspections after windy spells and not only after calm weather. Salt-laden air increases corrosion near fixings, so use stainless reinforcement where exposed.
Costing repeated leak repairs
Many homeowners underestimate how repeated leak repairs compound:
- Emergency labour at peak rates
- Internal remedial plaster or tile replacement
- Furniture and finish damage
- Temporary relocation and storage costs
A full diagnostic-and-corrective repair is often cheaper than three rounds of superficial fixes.
Build your leak prevention workflow
Use a timeline tied to key milestones:
- Week 1: moisture and drainage diagnosis
- Week 2: corrective detailing and exposed repair
- Week 3: testing and monitoring
- Week 4: handover + punchlist signoff
Owners should keep a leak diary with photos and dates; this helps final claims and insurance if structural damage occurs.
Related planning guidance
If you are in Cape Town and planning a broader project, combine this with:
- Protecting your site from heavy weather
- Renovation handover checklist before payment
- Renovation delay control guide
- Services overview
- Claremont Building Contractors
FAQ
Are recurring leaks always due to poor workmanship?
Often they are a combination of workmanship and missing follow-through on drainage and detailing. Not every leak starts as a direct material failure.
Can a single patch solve all leaks?
Only if inspection shows one isolated defect and surrounding details are in good condition. Otherwise failures usually reappear.
How long should leak testing continue?
Best practice is staged testing: immediate check, then repeat after one heavy rain, then final pre-handover inspection.
Is tar paper still acceptable for Cape Town roofs?
In some contexts, yes, only where specification and detailing are controlled by professionals and climate exposure is moderate.
Can a homeowner manage leak checks personally?
Yes. A simple checklist, photo log, and clear moisture points list can catch defects before final payment.
Should leaks be repaired during winter or summer?
Avoid risky work windows where weather blocks drying and cure time. Drying conditions significantly affect long-term performance.
Separate the entry point from the visible stain
Water rarely travels straight down from the defect to the mark on the ceiling. It can follow rafters, underlay, pipes or masonry before becoming visible. That is why repeatedly sealing the area directly above a stain often fails. A useful investigation starts outside and works through the likely water path, while also checking plumbing and condensation where those are plausible causes.
Record when the leak appears. Wind direction, rain intensity, duration and whether the problem occurs only after several wet hours are valuable clues. A hose test can help when it is controlled in small zones and given enough time, but flooding the whole roof at once makes the result difficult to interpret.
Insist on photographs and a repair scope
Ask for photographs of the suspected defect before work, the prepared substrate and the completed detail. The quotation should name the junction being repaired and describe preparation, compatible materials, curing protection and testing. “Waterproof roof” is not a measurable scope and gives the owner little basis for checking the result.
Where an old coating or membrane has failed, adding a new layer without testing adhesion can trap moisture or transfer the failure to the new system. Loose material, dust, biological growth and incompatible sealants need to be addressed in accordance with the chosen product. The contractor should explain why the proposed system suits the substrate and movement at that location.
Look beyond the roof covering
Blocked outlets, undersized drainage, cracked parapets, deteriorated wall coatings and poorly sealed service penetrations can all mimic a roof-covering failure. Water may also enter high on a wall and emerge lower down. Balconies and terraces require attention to falls, outlets, thresholds and upstands, not only the horizontal surface.
If moisture continues in dry weather, consider plumbing or condensation before authorising another external patch. Damp investigation should follow evidence. Treating every mark as rising damp or every ceiling stain as a broken tile wastes money and can delay the real repair.
Build testing and follow-up into the job
A repair is not complete when the surface looks neat. Agree how the area will be tested, who records the outcome and what happens if the leak returns. Some systems require dry weather and specified curing time before testing. Protecting fresh work from rain is part of the method, not an optional extra.
Keep the repair photographs and mark the location on a simple roof plan. If another leak appears later, this history helps distinguish a new defect from a failed repair. It also prevents future contractors from cutting into sound work without understanding what was done.
Next steps for a recurring leak
Start with diagnosis, then approve a written repair and test plan. Our guide to protecting work from Cape Town rain explains weather controls, while the handover checklist covers evidence before final payment. For an inspection and scoped repair, request a site quotation.
Questions to ask before approving another repair
- What evidence shows the proposed entry point is the real cause?
- Has the contractor checked drainage, adjacent walls and service penetrations?
- What existing material will be removed, prepared or retained?
- Are the repair products compatible with the substrate and each other?
- How will fresh work be protected while it cures?
- What test will be completed before the area is signed off?
These questions make the quotation easier to compare and discourage another unexplained patch. No investigation can promise that a complex leak will be solved before the evidence is gathered, but the contractor should be able to explain a logical diagnosis and verification process.